Consistent AI Characters using Flux in ComfyUI

In this guide, we’ll go over how to generate consistent AI characters using Mickmumpitz's latest ComfyUI workflow. The workflow takes advantage of the newly released Flux-PuLID Model, boosting its ability to keep features consistent between generations. Starting with an image of your character’s face and a text description, you can generate new content keeping the character fixed. This solves one of the biggest problems of AI images and is a great tool for a range of applications from making storybooks to generating datasets to train LoRAs.
Mickmumpitz goes over all the details of how the workflow works in his original YouTube video. In this guide, we will go over the key parameters that you need to worry about when using it.
The quickest way to get started is to deploy the “Flux Consistent Characters” template here. This is a computer-intensive workflow, and we recommend using an A100–40GB GPU to run it. After about a minute your template should be ready to go. You can then access the workflow via the standard ComfyUI interface, an API endpoint, or through a ViewComfy app. In this guide, we will be using the ComfyUI interface, but the principles are the same for all three options.
To Open the ComfyUI interface, you can click on the ComfyUI URL. The first time you do this, it can take a few minutes to load. Once it is ready, you can drop this image to load the workflow:
Key Parameters
The workflow might look intimidating at first, but there are only a few parameters you should really need to change.
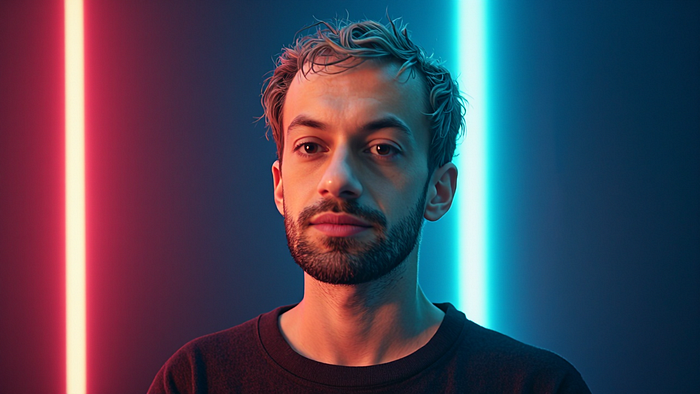
Load Character Image
This should be a well-lit portrait of your character.
Load Pose sheet Image
For best results, you can use the pose sheet from here.
Character prompt
Describe your character using the character prompt. It works best if you only describe the character, no need to describe a background or anything like that.
Style and quality prompt
This prompt allows you to describe the style you want to go for. Unless you are after something specific you can leave it as it is.
Final Image prompts
Finally, to change the four final images that the workflow generates, you can edit the four prompts at the end (Prompt_Image_1, Prompt_Image_2, Prompt_Image_3 and Prompt_Image_4).
And that is it really, with only those parameters, you can generate consistent AI characters.
Running the Workflow
After you queue the prompt, the first part of the workflow will generate the character sheet.
The workflow then generates a few intermediate outputs and upscales them. These higher resolution outputs are then used as reference when making the final images.
If you are using an A100–40GB GPU, the workflow should take about 7min30sec to run. If you need it to run faster, you can also deploy it on a H100.
For people looking to use this workflow via an API, we have a Python example of how to use it here.