Make an image to video app using ComfyUI and ViewComfy

With Apple’s new Depth Pro AI model released to the open-source world, adding depth and motion to 2D images is now easier than ever. And, if you are a ComfyUI user, you will be happy to hear that there is a node pack available to integrate Depth Pro directly into your workflows. In this guide, we will go one step further and use the depth flow pack to build a simple web app that can add motion to your still images.
1. Make a Depth Pro workflow
It is relatively easy to get started with the depthflow node pack compared to other custom nodes. Using the comfy manager you should be able to find it under “Depthflow Nodes”. Once it is installed, you can use the “LoadDepthPro” node directly into your workflow to download the model, which takes away the pain of having to look for it online.

The only problem we encountered, and I think you will only run into it if you are using Runpod, is this error: “libEGL.so not loaded”. If this happens to you, you can use your terminal to run these commands:
apt update && apt install -y libegl1-mesa libglvnd-dev libglvnd0
mkdir -p /usr/share/glvnd/egl_vendor.d
echo '{"file_format_version":"1.0.0","ICD":{"library_path":"/usr/lib/x86_64-linux-gnu/libEGL_nvidia.so.0"}}' > /usr/share/glvnd/egl_vendor.d/10_nvidia.json
The default DepthFlow workflow is a good place to get started as it covers a few of the motion presets in the node pack, namely: dolly, zoom and circle. If you want to try some other ones, they also have the orbit, horizontal and vertical presets available.
For this guide, we will keep using the default workflow, but it would be easy to build around it and make it more interesting. For example, an image generation workflow could be used as the input for the depth flow process.
2. Turn your workflow into a web app
Once you have a workflow you are happy with, it is simple to turn it into a web app using ViewComfy. We go into a lot of detail on how to set up ViewComfy and share it in this other blog post, so we will skip this step here and go straight to making the web app.
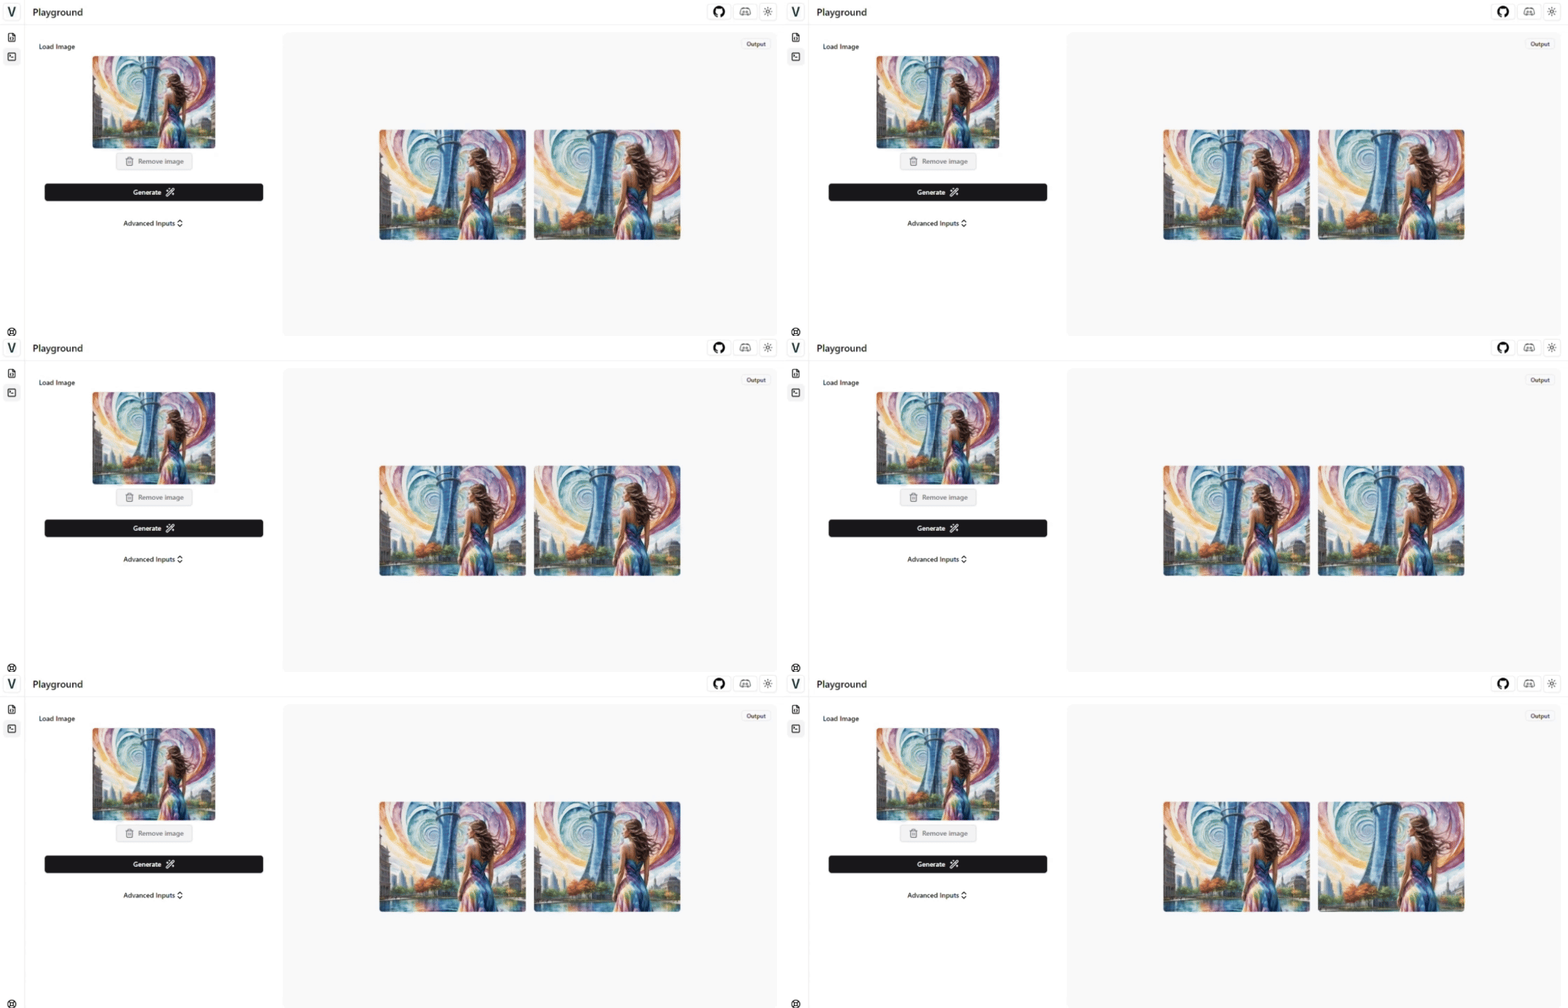
In our case, we want to make something super simple, where users will only have to add an image and click generate to get started. To make this streamlined UI, all we have to do is delete all the parameters except the Load Image one in the ViewComfy Editor, and click Save Changes.

And that is it, we can now go to the playground and start using the app.

You can share the app by following the steps in our other blog post.
If you would like to host a ViewComfy app or ComfyUI workflow on more powerful hardware or at scale, please get in touch with the ViewComfy team.