Image to Image Face Swap with Flux-PuLID II

This workflow takes advantage of lldacing PuLID II custom nodes, which brings new improvements to PuLID. Starting with a portrait of a character, you can face swap with a target image keeping the details consistent between the generated image and the target. This technique is particularly effective for placing your character into an image with a desired composition.
The quickest way to get started is to deploy the template here. For optimal performance, we recommend running this workflow on an A100, but it will also work on an L4 (24 GB VRAM). Your template should be ready in approximately one minute. Afterwards, you can access the workflow using the ComfyUI interface, an API endpoint, or a ViewComfy app. This guide will utilize the ComfyUI interface; however, the principles remain consistent across all three options.

To open the ComfyUI interface, click on the ComfyUI link. Please note that the initial loading time may take a few minutes. Once the interface is ready, you can drag and drop this image to load the workflow.

You can ignore most of the parameters in this workflow. We will go through all the important ones in the following section.
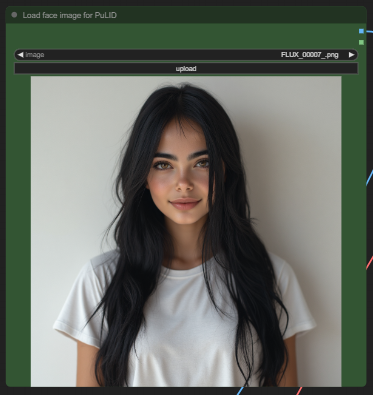
Load Character Image
This should be a well-lit portrait of your character.
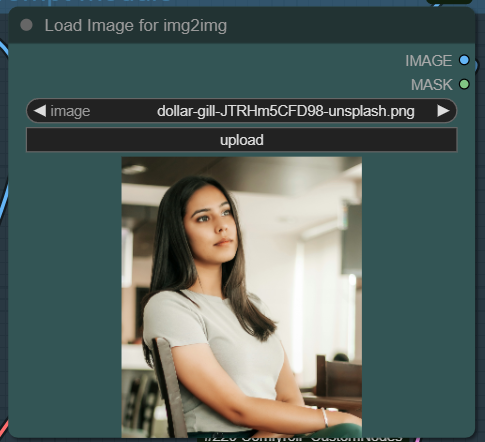
Load image for img2img
This is the image that will be used as the target for the face swap
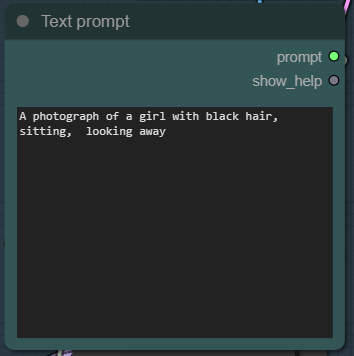
Text prompt
Describe what the final image should look like.
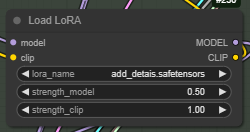
Load LoRA
You can load LoRAs to help with the generation using this node. In this example, we are using a LoRA to add details, which tends to make the generated image look more realistic.
You can increase the strength_model parameter to make the loRA stronger and increase its influence on the generation process. This parameter can take any value between 0 and 1.
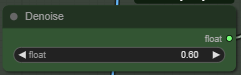
Denoise
The denoise is by how much the target image will change. This workflow works best with values around 0.6. You can increase it slightly if you feel like the results don’t look enough like your character, but keep in mind that it might affect how much of the other details in the target image are retained.
And that is all you need to get great results with this state-of-the-art face-swapping technique.
You can also upload your own workflow to ViewComfy cloud and access it via the ComfyUI interface or an API.
Acknowledgements
A word of acknowledgement to Tenofas for coming up with the original workflow this one is inspired by.